

Compression · 11 min read
Swelling and residual limb compression. Bandage, shrinker, liner and when to start
Artur Wąsowicz · September 15, 2026
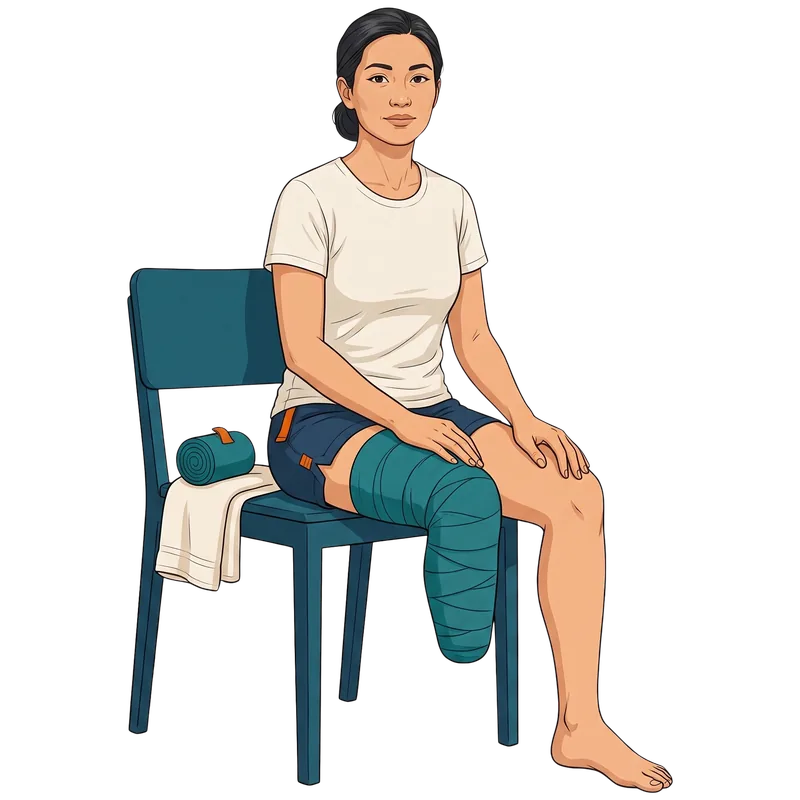
After surgery your limb has no permanent shape yet. For the first weeks it changes from one day to the next, and how it settles depends largely on compression. This text is about what to compress it with, how, and from when.
Disclaimer: this text describes my own experience and generally accepted guidance. It does not replace a medical consultation or hands-on instruction from a physiotherapist. When to start compression, and how firm it should be, is decided by the doctor treating you, especially after amputations from vascular causes and in diabetes.
After surgery your limb has no permanent shape yet. For the first weeks it changes from one day to the next, and how it settles depends largely on compression.
In the previous text, on residual limb care, I wrote that I was deliberately leaving bandaging techniques out, because they deserve an article of their own. This is that article.
Let me start with something not obvious at first. Compression is not cosmetic. It is not about the limb looking neater. It is preparation for a prosthesis, and how well it goes decides when a socket can be made and what kind.
Why the limb looks the way it does after surgery
Fluid collects in the tissues after an operation. That is a normal response to injury. It does not mean anything went wrong. The limb gets bigger, warmer, tight. The skin can look shiny.
The problem is that it does not go away on its own at any reasonable pace. A cut muscle no longer works as before. The leg is not bearing weight. The muscle pump that drives fluid upwards largely stops. Add lying in bed to that.
Without pressure from outside, swelling lingers. The limb then takes a shape you correct later. It gets called bulbous, or pear-shaped, meaning wider at the end than at the base. That makes fitting harder, because a socket has to go on, not merely fit once it is seated.
You are aiming at a cylinder or a gentle taper. On a shape like that you can build a socket that holds securely and spreads load where the tissues will take it.
Six things compression does
Swelling
After surgery fluid gathers in the tissues and the limb is bigger than it will end up being. Pressure helps move that fluid out.
Shape
Without compression the limb takes on the shape of a pear or a club. A socket cannot be fitted to something that changes from day to day.
Volume
The limb loses volume over weeks. Compression speeds up the arrival at a volume that no longer fluctuates, and only then does a definitive socket make sense.
Scar
Even pressure keeps the scar flat and mobile, instead of letting it bind down to the tissue underneath at a spot that will later meet the socket.
Sensitivity
Skin that has never been pressed on reacts to every touch. Getting it used to pressure gradually is part of preparing to wear a prosthesis.
Time to a prosthesis
All the points above add up to this one. The sooner the limb settles its shape and volume, the sooner a socket can be ordered.
Notice one thing. Only two of those six are about now. The rest are about six months from now. And that is the hardest part of compression. You do something tiresome for weeks on end, and you see the result at the first socket fitting.
Three tools and how they differ
Three things are used to compress a residual limb. They work differently. They also differ in how easy they are to get hold of, and that second part gets talked about far less.
Elastic bandage
This is what you will be given. A bandage is cheap and available everywhere. You can wash it and keep several in rotation. It suits any level of amputation, including when the shape of the limb is still very irregular.
One serious drawback, and no way round it. Every time, you put it on slightly differently. The pressure depends on how hard you pull the fabric, the angle you take the layers at, and how tired you are that day. It is worse when it slips overnight. Then it tightens in one place and does exactly the opposite of what it should.
Shrinker
A ready-made knitted sock with graduated pressure, firmer at the end of the limb and lighter towards the top. It goes on in a few seconds. A bandage takes a few minutes and some concentration, and you do it several times a day for weeks, so the difference adds up faster than it sounds like it would.
Repeatability is far better than with a bandage, because the pressure is built into the product. That comes at a price. The size has to be matched, and the limb loses volume over the first weeks. The one fitted in hospital is usually too big a few weeks later.
One note on the name, because the mix-up is common. A shrinker is not the same thing as a prosthetic stump sock. Stump socks, the wool, cotton and terry ones that come in various thicknesses, go on once you already have a prosthesis and the socket has become too loose. They are there to make up that difference, not to shape the limb. A shrinker does the opposite, because its job is to reduce the limb before any prosthesis exists.
Post-operative liner
A silicone or gel sleeve pulled straight onto the limb. The pressure is the most even of the three and the same every time you put it on. It also protects against knocks. In the first weeks of learning to move around, that is not a small thing.
Here, though, comes something that has to be said plainly. In Polish practice a post-operative liner rarely reaches the patient directly after surgery, and a shrinker is not a standard discharge item either. What you actually get handed when you leave hospital is a bandage. If you want anything beyond that, in practice it means buying it yourself or looking for funding, and that takes time. I write this not to discourage you, but because it is worth knowing straight away rather than after three weeks of waiting for something that is not coming. Where to find money for prosthetic devices I cover separately, in the text on PFRON funding.
The practical conclusion is this. Learn to bandage properly, even if you plan to buy a liner. You will need the bandage anyway. If only while the liner is being washed, or when the limb changes volume and the liner stops holding.
How to bandage
Before I go further, one thing. Bandaging has to be learned from someone in person, from a physiotherapist, a nurse or a technician at a prosthetics workshop. What follows is here so that you know what to expect and what should add up, not to replace that instruction. The professional literature says the same, that the patient should be taught bandaging by a qualified person.
The rules that hold at every level of amputation:
- Pressure firmer at the end of the limb, lighter the higher you go. The reverse order holds fluid at the bottom instead of moving it out, and it is the most common mistake.
- Diagonal, not circular. Layers laid round in a single plane make a tourniquet. The standard is to run the bandage on the diagonal, in figures of eight, so that each layer crosses the one before.
- Cover the whole limb, past the joint. Below the knee the bandage goes above the knee, above the knee it goes as high onto the hip as it can. A limb bandaged halfway swells in the part left uncovered. With a below-knee limb the kneecap is left uncovered, so that bending the knee is not restricted.
- No folds and no ridges. A fold presses into the skin and after a few hours leaves a furrow, which with reduced sensation can turn into a wound.
- Each layer covers about half of the one before. That builds pressure evenly instead of in bands.
The bandage is changed several times a day, and at night too if it slips. How often is set by the team treating you. It depends on the state of the wound and on how quickly the swelling comes down.
The check is simple. After you take it off, the skin should be evenly pink. No furrows, no pale or bluish patches. Can you see the imprint of the bandage edge, or a ring above the limb? The pressure was distributed badly.
When to start
These timings can vary enormously. I know this because I went through it twice and it looked different each time.
After the accident I spent six weeks in hospital. The wound picked up a staphylococcal infection, healing stalled, a drain went in, and the pain was at the edge of what could be borne. I started bandaging in the fifth week, still on the ward. Then I went home and for long weeks had nothing but a bandage, because the pandemic was on and access to anything was severely limited. I had a revision amputation some fifteen months later. They discharged me after three days, and a week later I was wearing an Iceross Post-Op liner.
From that comes a conclusion you will not find in any leaflet. The timings manufacturers give describe a course without complications, not a rule. Össur recommends applying the Össur Rigid Dressing directly after surgery and wearing it for five to seven days. The Iceross Post-Op liner goes on only after the dressing is removed and the wound has been inspected. My second time matched that almost to the day. My first had nothing to do with it. The moment you start is decided by the state of the wound as the doctor assesses it, not by the calendar.
The dressing itself is worth knowing about, because hardly anyone in Poland has heard of it. The Össur Rigid Dressing is a vacuum-formed removable rigid dressing, intended only for people after a below-knee amputation. The manufacturer lists three jobs for it: immobilising the limb, protecting it from injury, and controlling post-operative swelling. Research on rigid dressings adds a fourth, keeping the knee extended and preventing contracture. At the above-knee level this device simply does not apply.
There is one more group that has to be mentioned separately. If the reason for the amputation was ischaemia of the limb, or you have diabetes, the decision belongs to the doctor alone. That means both when to start compression and how firm it should be. With impaired blood supply, pressure that would be correct for someone else can make healing worse. This is not a formality written in out of caution, it is a real risk.
When to take it off at once
Take the compression off and contact your doctor
Pain that grows after you put it on instead of easing. Numbness, pins and needles or loss of sensation. Skin turning pale, bluish or mottled. Clear coldness at the end of the limb. Swelling building up below the compressed area. Furrows, blisters or grazes appearing after you take it off.
The governing rule goes like this. Compression should be noticeable, but it should not hurt. If it hurts, it is too firm or badly distributed. There is no point waiting it out and hoping it settles. You take it off, look at the skin, put it back on from the start.
A bandage pulled tight does more harm than good. More is not better here. A bandage pulled twice as tight will not halve the time to a prosthesis, it will raise the risk that healing goes backwards.
What comes next
Compression does not end when the wound heals. It carries on until the volume settles and through the whole wait for a prosthesis. After that too, in a changed form. The limb changes volume within a single day as well.
You do not recognise the moment for a definitive socket by the calendar. You recognise it by the circumference, measured at the same points, no longer changing from week to week. Those measurements are worth writing down. A sheet with dates and centimetres is a concrete argument in a conversation with your prosthetist. A feeling that it has probably stopped shrinking is not an argument.
How the road from a settled residual limb to a first prosthesis looks, I will write about in the next text in this series.
Sources
- „Wczesne usprawnianie poamputacyjne i nowoczesne techniki hartowania kikuta”, e-textbook, authors from Lodz University of Technology and Poznan University of Medical Sciences - zpe.gov.pl
- Össur, product materials for Iceross Post-Op and Össur Rigid Dressing - ossur.com
- Johannesson A. et al., „Comparison of vacuum-formed removable rigid dressing with conventional rigid dressing after transtibial amputation”, Acta Orthopaedica (2008) - tandfonline.com
- Reichmann J. et al., „Removable Rigid Dressings for Postoperative Management of Transtibial Amputations. A Review of Published Evidence”, PM&R (2018) - onlinelibrary.wiley.com
- Spannbauer A. et al., „Specyfika postępowania rehabilitacyjnego u chorych po amputacjach naczyniowych”, Pielęgniarstwo Chirurgiczne i Angiologiczne (2009) - termedia.pl